When I plunge into DIY wall art, I always choose my materials wisely—thrift store gems and repurposed items bring character! I start with simple techniques like color blocking, exploring soothing palettes with two to three shades. I love incorporating found objects like vintage buttons or seashells for texture. Planning my layout on the floor helps visualize the final look. It's all about enjoying the process, and there's so much more inspiration waiting to be discovered!
Design Highlights
- Start with simple materials like canvas, paint, and brushes to create accessible wall art for beginners.
- Use painter's tape for clean lines in color blocking techniques, ensuring a polished look.
- Experiment with textures through sponging or layering to add depth and visual interest to your designs.
- Limit your color palette to two or three complementary shades for cohesion and ease of selection.
- Embrace mistakes as part of the creative process, allowing for unexpected beauty in your artwork.
Choose Your Materials Wisely
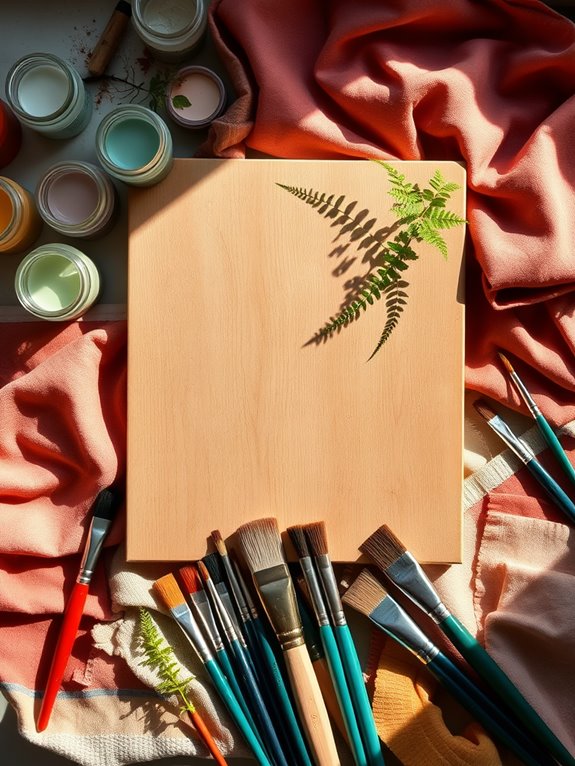
When I immerse myself in DIY wall art projects, I always remember that choosing the right materials is essential.
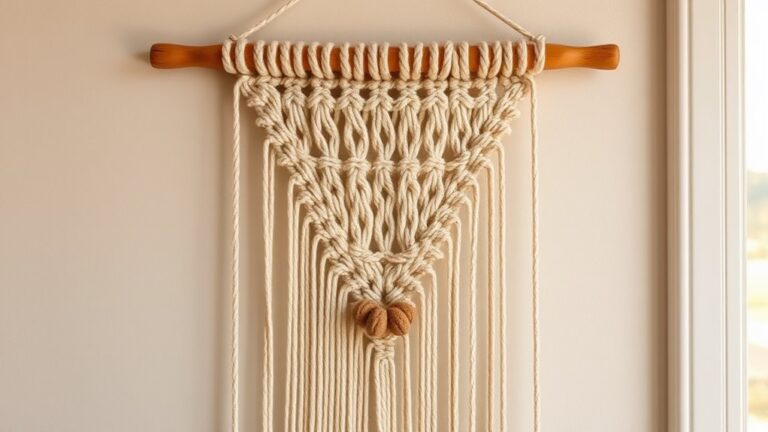
I love hunting for affordable materials at thrift stores; you'd be amazed at the treasures you can find! Repurposed items, like old clothing or textiles, not only add unique textures but also promote sustainability. Additionally, using vintage finds can enhance the character of your artwork and make it truly one-of-a-kind. Incorporating unique wall decor ideas can also inspire your creativity and help you design pieces that stand out. Using creative materials can lead to innovative designs that capture attention and spark conversation. Exploring different wall decor styles can also motivate you to try new techniques and approaches in your DIY projects.
I often visit local art supply stores for basics like canvas, paint, and brushes, but I also enjoy experimenting with various materials, like cardstock or reclaimed wood, to discover my preferred mediums.
Most importantly, I carefully select a color palette that complements my existing decor, ensuring my artwork feels intentional and cohesive. This thoughtful approach transforms my space and fuels my creativity! Additionally, using durable materials like aluminum ensures that your artwork remains vibrant and intact throughout the seasons.
Start With Simple Techniques
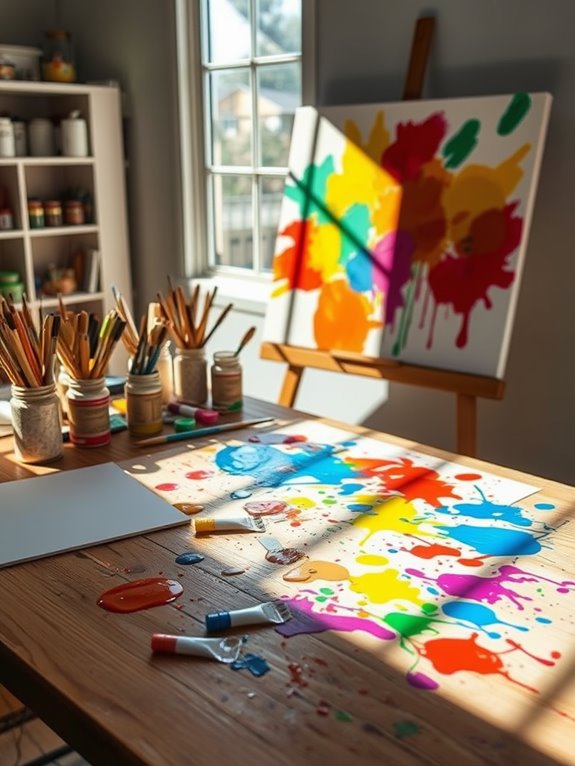
When I first started my DIY wall art journey, I found joy in using basic materials like canvas and paint. Playing with simple techniques, such as color blocking and geometric shapes, opened up a world of creativity without overwhelming me. Focusing on fun rather than perfection transformed my space and my confidence. Incorporating elements like botanical wall art can further enhance the visual appeal of your living area. Additionally, using stunning wall decor can create a focal point that ties your room together beautifully. One great way to elevate your designs is by incorporating unique textures that can add depth and interest to your artwork. Exploring various wall decor options can also inspire fresh ideas for your next project. For instance, using vibrant wall stickers can brighten up a child's bedroom with themes that reflect their personality.
Choose Basic Materials
Starting your DIY wall art journey can be as simple as gathering three essential materials: canvases, paintbrushes, and acrylic paint. These affordable materials set the stage for a vibrant creative process. I love utilizing basic tools like painter's tape, scissors, and glue to keep things straightforward and enjoyable. With just a few supplies, I can plunge into canvas art that sparks joy. Moreover, incorporating stunning wall decor ideas allows you to explore various styles that can elevate your space.
Simple techniques like color blocking or abstract designs require minimal skills yet yield stunning results. Don't hesitate to incorporate materials you already have, like old fabric or cardboard, to promote sustainability. Additionally, using moisture-resistant materials can ensure your artwork lasts longer, especially in humid spaces like bathrooms. Creating unique wall decor not only enhances your room's aesthetic but also reflects your personal style. Furthermore, embracing various wall decor styles can inspire you to think beyond traditional art and experiment with different textures and dimensions.
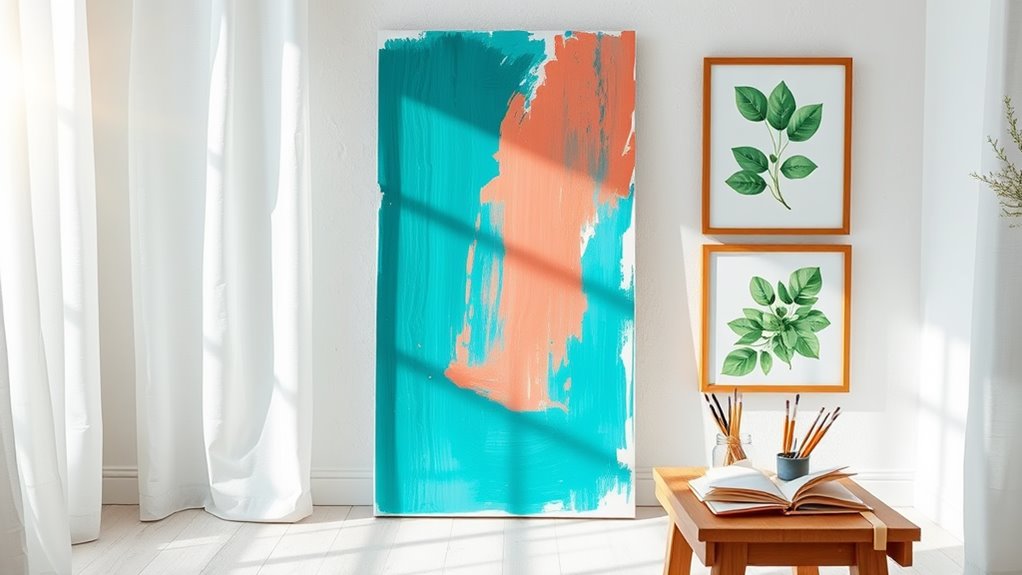
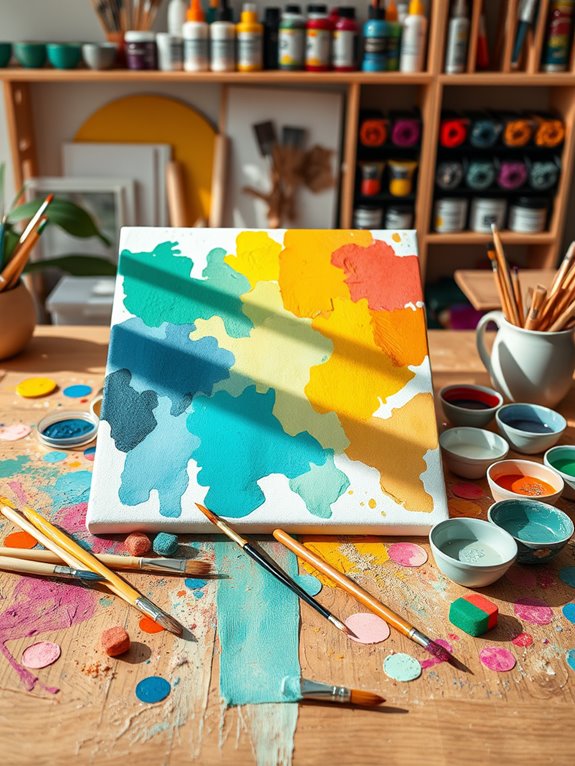
Experiment With Color
With your basic materials in hand, it's time to release the magic of color on your canvas. I love starting with just two or three complementary paint colors; it makes the process manageable and visually appealing. Incorporating creative wall decor ideas can also inspire your color choices and design.
Here are some easy techniques to experiment with:
- Color Blocking: Use painter's tape to create clean lines and geometric shapes.
- Texture Techniques: Try sponging or dry brushing to add depth and dynamic flair.
- Shades of One Color: Mix different shades of the same paint color for added dimension.
- Inexpensive Practice: Use a blank canvas or poster board for this budget-friendly DIY approach.
These steps will help you create unique pieces that showcase your personal style while honing your skills! Additionally, consider incorporating stunning wall decor ideas to enhance the overall aesthetic of your space. A well-chosen wall decor element can significantly elevate the look of your finished artwork and tie the room together.
Focus on Fun
How can you make your DIY wall art journey both enjoyable and rewarding? Start simple!
I love diving into quick and easy DIY wall art projects, like abstract painting or color blocking. Using painter's tape, I create crisp lines and geometric designs that look professional, even for a beginner. Consider incorporating elements like vintage canvas art to further enhance your space with a serene, spring-inspired atmosphere. Additionally, adding winter-themed accents can bring a seasonal charm to your decor. Wall decor products can also elevate your designs and inspire your creativity, allowing you to explore unique design options that reflect your personal style.
Let your creativity flow by experimenting with different mediums—acrylic paint, paper shapes, or fabric—each offers unique textures and possibilities. Remember, the goal is to focus on fun, not perfection! This mindset makes the creative process liberating and stress-free.
Try beginner-friendly options, like watercolor art or stenciled designs; they yield satisfying results and inspire your DIY artwork journey. Additionally, consider incorporating elements like nature-inspired wall decals to add a vibrant touch to your space. Embrace the joy of creating, and watch your walls come alive!
Explore Color Palettes and Patterns
When I think about color palettes for my DIY wall art, I love the idea of using complementary colors to create eye-catching contrasts. Pairing bold patterns, like stripes or polka dots, with these hues can transform a simple piece into a striking focal point. Additionally, incorporating stunning wall decor ideas can elevate your artwork and make it even more appealing. Using unique wall art styles can also inspire your design choices and help you stand out from the crowd. In fact, selecting the right color combinations can significantly enhance the overall aesthetic of your space. Let's explore how these techniques can bring your creative vision to life!
Choosing Complementary Colors
Choosing complementary colors for your DIY wall art can transform a simple project into a striking statement piece.
When I immerse myself in my color palette, I keep these tips in mind:
- Use a color wheel to find complementary colors directly opposite each other for vibrant contrasts.
- Stick to a limited color palette of two to three complementary shades to maintain cohesion.
- Experiment with different shades and tints of your chosen colors for depth and visual interest.
- Incorporate patterns, like geometric shapes, to highlight those contrasting hues while pairing bold colors with neutral tones to balance the vibrancy and draw attention to your focal points.
These elements can elevate your artwork from ordinary to extraordinary!
Pattern Variation Techniques
Exploring pattern variation techniques opens up a world of creativity for your DIY wall art.
I love using painter's tape to create clean lines and geometric shapes, allowing me to design intricate chevrons or herringbone patterns that add depth. By incorporating complementary color palettes like blue and orange, I can create unique visual dynamics.
I often experiment with differing brush strokes—sponging or stippling—to introduce varied textures that enhance my artwork's overall appeal. Layered patterns of fabric swatches and paper cutouts can bring complexity, while multiple shades of a single color can create a stunning ombre effect.
Embracing a random pattern approach lets me explore endless possibilities and truly make each piece my own.
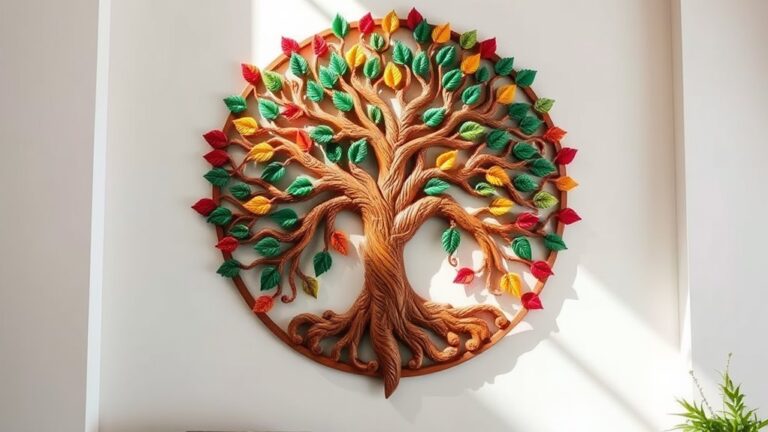
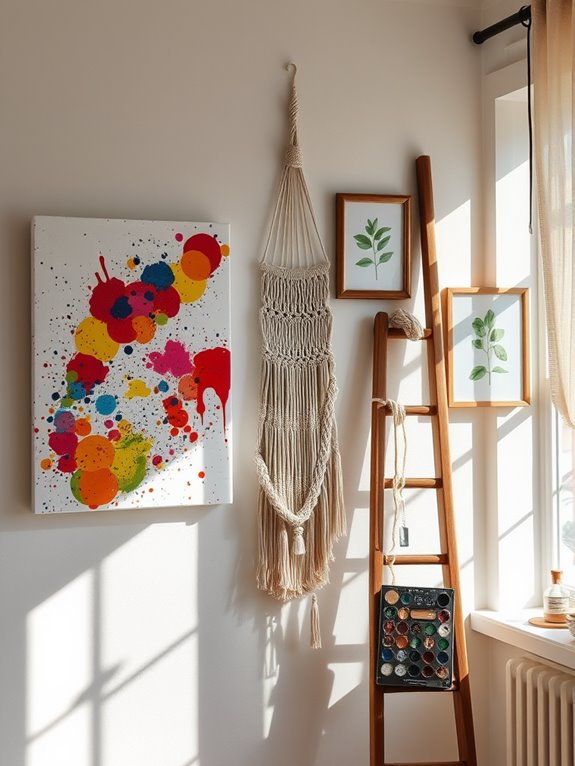
Incorporate Found Objects
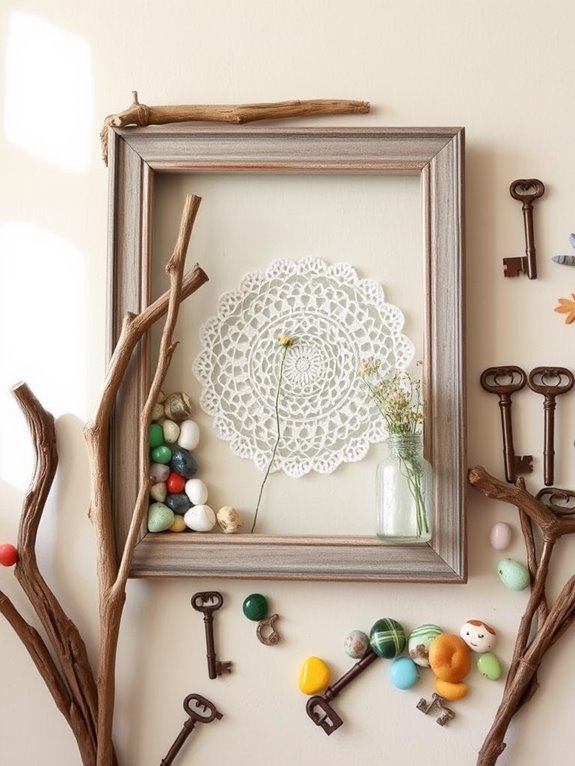
Incorporating found objects into your wall art projects can transform ordinary pieces into extraordinary statements.
I love to gather unique textures and natural items that inspire my creativity. Here are some ideas to get you started:
- Twigs and branches: These can be arranged to create organic shapes that add depth.
- Seashells: Their natural colors and patterns bring coastal vibes to your art.
- Vintage buttons: Use them to create playful designs or as focal points.
- Dried flowers: These add a beautiful touch, perfect for a floral-themed piece.
Experiment With Different Styles
While diving into the world of DIY wall art, I find that experimenting with different styles can be a thrilling adventure.
Whether I'm drawn to abstract art, geometric shapes, or minimalist designs, each approach helps me uncover my unique artistic voice. I love to mix various materials like fabric, paper, or wood, as they spark creativity and lead to unexpected results.
Playing with diverse color palettes transforms the mood of my pieces, allowing me to express emotions through color. Engaging in different techniques, such as stenciling or collage, adds depth to my skill set.
I also enjoy incorporating elements of nature, like pressed flowers or leaves, to introduce organic textures and aesthetics, enriching my DIY projects even further.
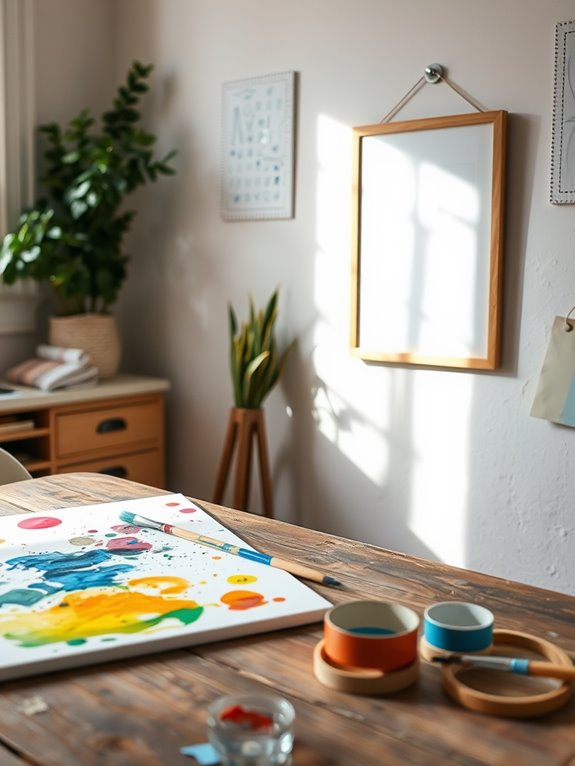
Plan Your Layout Before Hanging
After experimenting with different styles, the excitement of bringing my vision to life often leads me to contemplate how best to arrange my pieces on the wall.
Planning my layout is essential for a cohesive gallery wall. Here's what I do:
- Lay out the frames on the floor to visualize the arrangement.
- Use tracing paper to outline the shapes of my picture frames, making it easy to plan without drilling unnecessary holes.
- Hang at eye level, typically around 57 to 60 inches from the floor, for the best impact.
- Experiment with arrangements—grid patterns create a clean look, while organic layouts offer an eclectic feel.
This thoughtful process transforms wall art ideas into stunning home decor!
Enjoy the Creative Process
Creativity flows freely when I allow myself to embrace the journey of making art.
I've discovered that when I focus on enjoying the creative process, the results become secondary to the joy of experimentation.
With DIY wall decor, I often use affordable materials, transforming blank wall space into vibrant expressions of myself.
Each project teaches me that mistakes can lead to unexpected beauty, sparking my imagination to explore new techniques.
There's a certain magic in using what I already have, pushing me to think outside the box.
As I immerse myself in these artistic endeavors, I feel a rewarding sense of accomplishment that transcends the final piece.
Frequently Asked Questions
What Is the 2/3 Rule for Wall Art?
The 2/3 rule for wall art has been my go-to guideline when decorating spaces. Fundamentally, I make sure the total width of my artwork is about two-thirds that of the furniture beneath it.
This creates a harmonious look that draws the eye. I also hang my pieces at eye level, around 57 to 60 inches high.
Following this rule, I've found that my walls feel more balanced and intentional, enhancing the overall aesthetic beautifully.
How to Make a Simple Wall Art?
To make simple wall art, I start with a blank canvas or an old piece I can refresh.
I love using inexpensive craft paint to create bold geometric patterns with painter's tape. Sometimes, I incorporate natural materials like leaves for texture.
I also explore online for free printables that I can frame easily.
Most importantly, I let myself experiment with techniques like splatter and brush strokes to truly express my unique style.
Where Do I Start With Wall Art?
When I think about where to start with wall art, I focus on evaluating my space, gathering inspiration, and choosing materials.
I measure my wall, browse Pinterest for ideas that spark my creativity, and pick up thrifted frames or fabric.
I start simple, perhaps with abstract art or paper designs, allowing myself to enjoy the process.
Embracing experimentation and letting go of perfection helps me grow and truly connect with my artistic side.
How to Decorate a Wall With a Low Budget?
When I'm looking to decorate a wall on a tight budget, I get creative with thrift store finds and flea market treasures.
I mix personal photos with free art prints to create a unique gallery wall that tells my story. Using leftover fabric and old frames, I craft new pieces that add character.
Plus, I love exploring digital art options online, which helps me find stunning designs without spending a dime.
It's all about imagination!
Conclusion
As I step back and admire my wall art creations, I can't help but feel a rush of joy, like a painter admiring a completed masterpiece. Each piece tells a story, a whispered secret of my creative journey. Remember, this isn't just about decorating; it's about infusing your space with your spirit. So grab those brushes and let your imagination soar—your walls are waiting to dance with color and personality. Embrace the process, and let your creativity bloom!