
I love transforming recycled materials into unique wall decor! Start by gathering items like cardboard, glass bottles, and old kitchen utensils. Choose a sturdy background to support your creations, and don't shy away from experimenting with layouts and colors. Use strong adhesives for durability, and consider mixing textures for depth. Personalizing your pieces adds a special touch, and showcasing them creatively makes a statement. There's so much more to explore in this exciting DIY journey!
Design Highlights
- Gather diverse recycled materials like cardboard, glass bottles, and egg cartons to create unique textures and shapes for your wall decor.
- Prepare your base surface by ensuring it is clean, sturdy, and sanded if using wood for a smooth application of materials.
- Plan your layout with varying heights and colors, taking photos to visualize different configurations for a balanced design.
- Use strong adhesives like E6000 for heavier items and experiment with mixed media techniques like decoupage for added depth and interest.
- Engage your community by sharing your DIY process through photos and videos, encouraging others to join in on eco-friendly art projects.
Gather Your Recycled Materials
When I plunge into a DIY wall decor project, I love to start by gathering at least five different recycled materials. Cardboard, glass bottles, and plastic containers can transform into stunning DIY wall art.
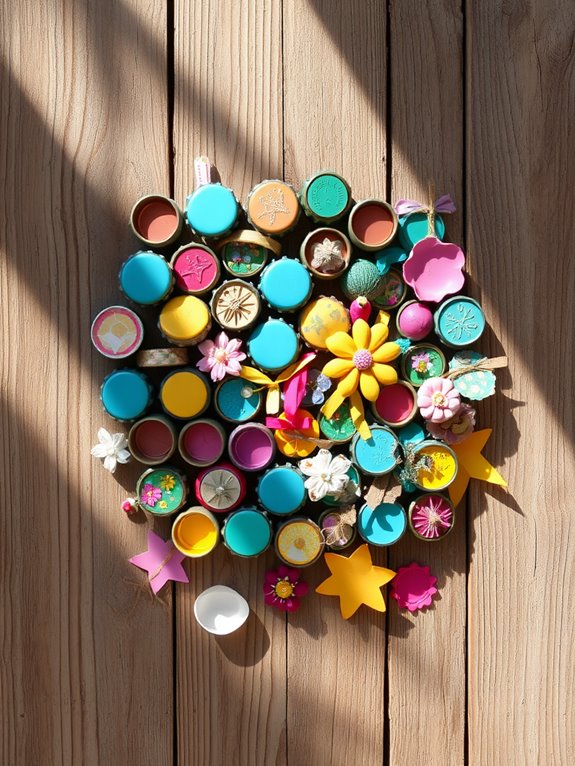
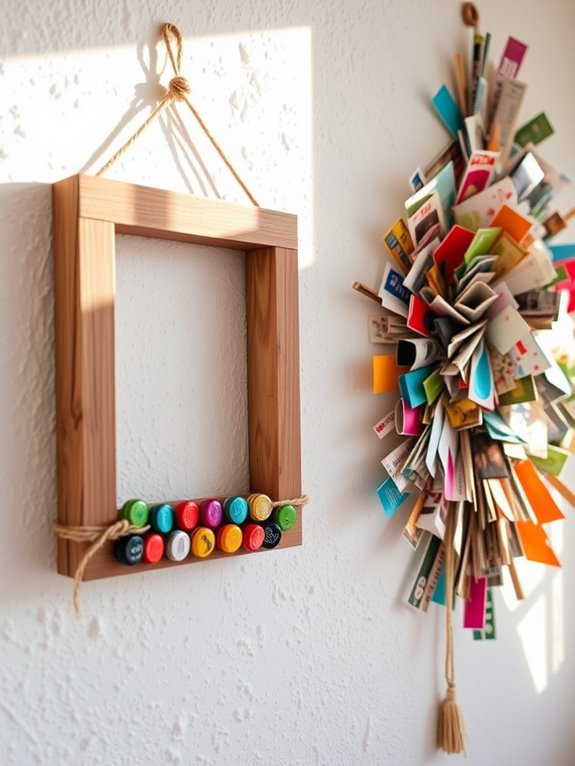
I often grab egg cartons and toilet paper rolls because they're so easy to mold into creative shapes. Wine corks, bottle caps, and old kitchen utensils add unique flair to my designs. It's crucial to find sturdy bases like scrap wood or canvas to attach my materials, ensuring durability. Additionally, incorporating high-quality materials like Pine Wood can enhance the overall look of your projects. Unique wall decor ideas can inspire your creativity as you organize everything for easy access. One great way to enhance your DIY projects is by incorporating natural elements into decor, similar to how botanical wall art can refresh a space. Additionally, using recycled materials not only saves money but also promotes sustainability in design, which is an important aspect of modern decor. By utilizing these materials, you can create one-of-a-kind pieces that truly reflect your personality and style.
The beauty of using recycled materials lies in their endless possibilities, allowing me to express my style while being environmentally friendly.
Choose a Background for Your Art
When I choose a background for my art, I love exploring materials like reclaimed wood or canvas that not only look great but also hold everything together. Size matters too; I usually aim for something at least 24×36 inches so my design can really shine. Don't forget to prepare the surface properly, as a little effort here can elevate your entire piece. Additionally, using stunning wall decor can help inspire your creative process and bring a unique flair to your artwork. Incorporating eco-friendly materials into your design can also enhance the overall aesthetic while being kind to the planet. Consider how using unique wall decor ideas can transform your space and motivate your artistic journey. Utilizing creative wall decor techniques can further elevate your art and make it a focal point in any room. For instance, adding vibrant wall art can create an uplifting ambiance that enhances your overall creative environment.
Material Options Available
Choosing the right material for your wall art can transform an ordinary space into something extraordinary.
I love using recycled materials for my DIY projects because they not only save money but also add character. A sturdy base is essential, and I often opt for reclaimed wood; it brings a rustic charm and is often free! Using beautiful wall decor can enhance the overall aesthetic of your space. Incorporating elements like tropical imagery can further elevate the summer vibe of your art. Additionally, selecting decor pieces that match room dimensions ensures a harmonious fit within your space. Wall decor products can also help in making a bold statement and infusing personality into your home.
If I want a smoother surface, I grab canvas boards from craft stores or repurpose old paintings. Thick cardboard is another fantastic option—it's lightweight and easy to cut.
For something truly unique, I look for old doors or window frames that can double as eye-catching backgrounds. Each choice reflects my style while making my space feel more personal and inviting. Additionally, using recycled materials contributes to sustainable home decor and minimizes waste, making each piece even more meaningful.
Size Considerations
Selecting the right size for your background can make or break your DIY wall decor project. I always consider the size of my recycled materials to guarantee they fit comfortably without overcrowding the space. A larger background, like a scrap board or canvas, allows for more intricate designs and layering, adding visual interest. When I display multiple pieces together, I stick to a consistent size for the backgrounds to create a cohesive look. It's also essential to measure the wall space to avoid backgrounds that are too large or small. Finally, I opt for lightweight materials, especially if I'm using heavier recycled items, to keep my art safely on the wall. Incorporating stunning wall decor ideas can further enhance the overall aesthetic of your space. Additionally, using recycled materials not only adds character to your artwork but also promotes sustainability in your home decor.
Surface Preparation Steps
After settling on the right size for my backgrounds, the next step is prepping the surface to guarantee my art shines.
I start by choosing a sturdy base—plywood, canvas, or even a large piece of cardboard—that can support the weight and shape of my recycled materials. Ensuring the surface is clean and free from dust or debris is essential for effective adhesion. Additionally, using stunning wall decor ideas can help you select the right materials that complement your design. It's also helpful to consider various wall decor styles to inspire your overall aesthetic. Incorporating unique wall decor concepts can further enhance the creativity of your project.
If I'm using wood, I lightly sand it for a smoother texture, perfect for painting or adding objects. When working with canvas, I stretch it tightly over a frame to avoid sagging.
Finally, I might apply a primer or base coat of paint to enhance vibrancy, creating a cohesive backdrop for my creative vision. Furthermore, incorporating unique recycled materials not only adds texture but also contributes to an eco-friendly approach to your decor.
Experiment With Layout and Design
While I love the thrill of creating wall decor, starting with a clear layout can make all the difference. I begin by laying out my collected materials on a flat surface, which helps me visualize different arrangements.
I like to experiment with layout and design, layering materials of varying heights and textures to add depth and interest. Mixing colors and patterns, whether painted or natural, enhances the visual appeal and cohesion of the piece. Incorporating vibrant colors can energize your decor and boost motivation in your space. Consider adding stunning wall decor ideas to inspire unique combinations and arrangements. Additionally, using various textures can create a captivating sensory experience that draws the eye. A well-thought-out design can transform your wall into a stunning focal point and reveal the beauty of artful arrangements.
I also consider the scale; larger items can be striking focal points, while smaller embellishments add delightful detail. Taking photos of my configurations allows me to compare options and make informed choices, ultimately helping me release my creativity in the most effective way possible.
Use Strong Adhesives for Assembly
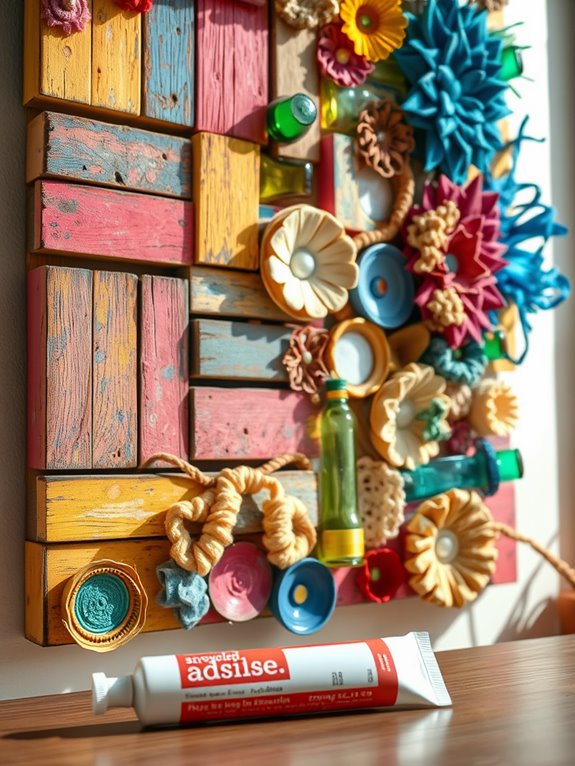
When I'm crafting my DIY wall decor, I always make certain to choose the right adhesive for each material.
A strong bond is essential, especially when working with heavier items, so I opt for something like E6000 for durability.
Trust me, taking the time to make certain proper adhesion saves a lot of headaches down the road!
Choose Appropriate Adhesives
Choosing the right adhesive for your DIY wall decor can make all the difference, especially if you want your creations to last.
For heavier items like tin cans or wood, I recommend using a strong adhesive like E6000 for a durable bond.
When working with lightweight materials, like egg cartons or corks, hot glue from a low-temp glue gun is perfect for quick adhesion—just be careful to avoid burns!
For paper and other lighter materials, white craft glue or Mod Podge allows for repositioning, giving you flexibility during assembly.
I always test different adhesives on small samples to verify they're the best fit for my project.
Trust me, the right adhesive can turn your ideas into lasting art!
Ensure Proper Adhesion
After you've selected the right adhesive, ensuring proper adhesion becomes the next step in creating stunning wall decor. I always opt for strong adhesives like E6000 or hot glue, as they provide the stability needed for various materials.
Before diving in, I make sure to clean the surfaces to remove any dust or grease—trust me, this makes a huge difference! For heavier items, I don't just rely on adhesive; I also use screws or nails to enhance stability.
When attaching pieces, I apply even pressure and wait for the adhesive to dry as recommended. This attention to detail not only secures my decor but also elevates the overall aesthetic, making my creations truly stand out on the wall.
Incorporate Mixed Media Elements
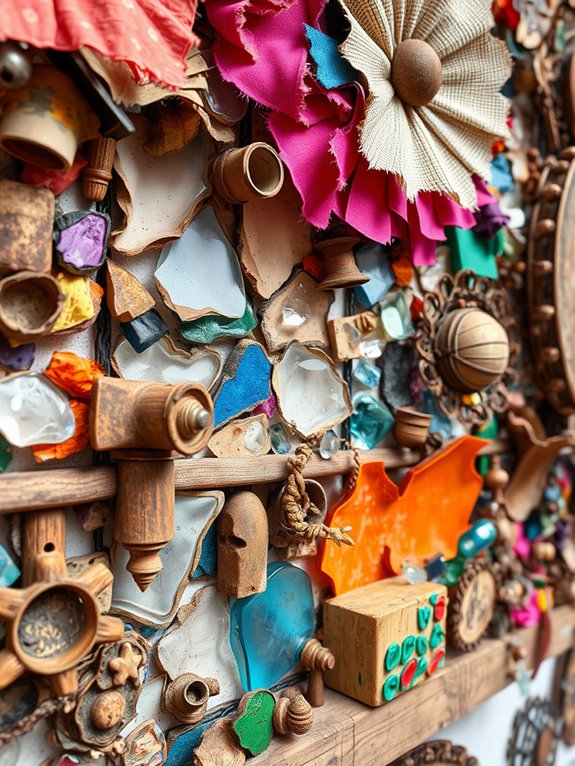
Although I love the look of traditional wall art, I've found that incorporating mixed media elements takes my DIY projects to a whole new level.
By combining materials like paper, fabric, and found objects, I create unique textures and visual interest that truly stand out. Using recycled materials such as cardboard, bottle caps, and old utensils not only keeps costs down but also makes my decor eco-friendly.
Layering techniques like decoupage and paper mache with recycled items adds depth and character to my pieces. Plus, I always make sure I use strong adhesives to keep everything securely attached, so my creations last.
Embracing mixed media elements has turned my walls into dynamic showcases of creativity and sustainability!
Add Color With Paint and Embellishments
While I love the way color can transform a space, adding vivid hues to my DIY wall decor brings a new layer of excitement to my projects.
Using paint, whether it's tempera, acrylic, or spray paint, allows me to breathe life into recycled materials. Here are a few tips I've picked up along the way:
- Experiment with contrasting colors for a bold statement.
- Use metallic finishes to elevate your design and create a stunning focal point.
- Incorporate embellishments like washi tape, fabric scraps, or decorative paper for added texture and depth.
These techniques not only enhance the visual appeal but also showcase the versatility of recycled items, turning simple pieces into unique art that sparks conversations.
Create Depth With Layering Techniques
Adding vibrant colors to my DIY wall decor can really set the stage, but there's another layer of creativity that takes it a step further—literally.
By using layering techniques, I can create stunning visual interest that transforms a flat surface into an engaging masterpiece. I love stacking materials like cardboard, fabric, and even wine corks to introduce varying heights and thicknesses that enhance depth.
Before committing, I experiment with arrangements, ensuring each layer complements the others. Incorporating transparent elements, like sections of plastic bottles, adds complexity without overwhelming the design.
Using contrasting colors and textures helps define each layer, making my decor not just a wall piece but a dynamic focal point in my space.
Personalize Your Art With Unique Touches
Personalizing your art can truly elevate your DIY wall decor, making it a genuine reflection of who you are. Here are some unique touches I love to incorporate:
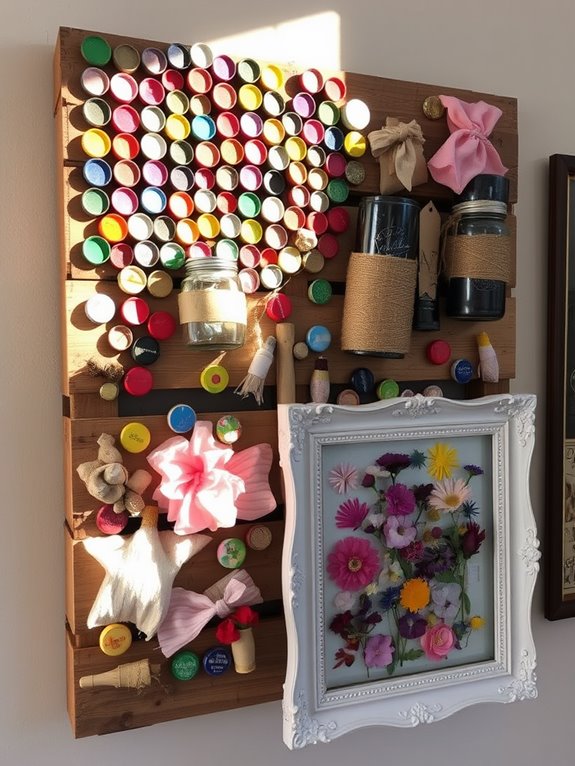
- Personal Photographs: Use photos or postcards to form a meaningful collage that captures your memories.
- Vibrant Colors: Customize repurposed materials, like wine corks or tin cans, with bold paint to match your aesthetic.
- Quotes and Messages: Add personal quotes using stencils or handwritten typography to inspire anyone who sees your art.
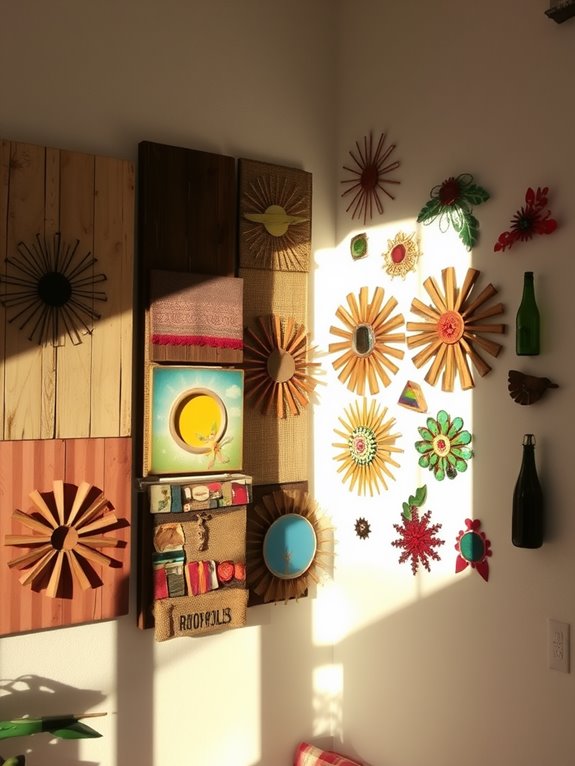
Showcase Your Art in Creative Ways
I love finding unique ways to showcase my art, whether it's layering different materials or creating interactive installations that invite touch.
Mixing textures and colors not only adds depth but also reflects my personal style.
Let's explore some fun techniques to elevate your wall decor into an enchanting experience!
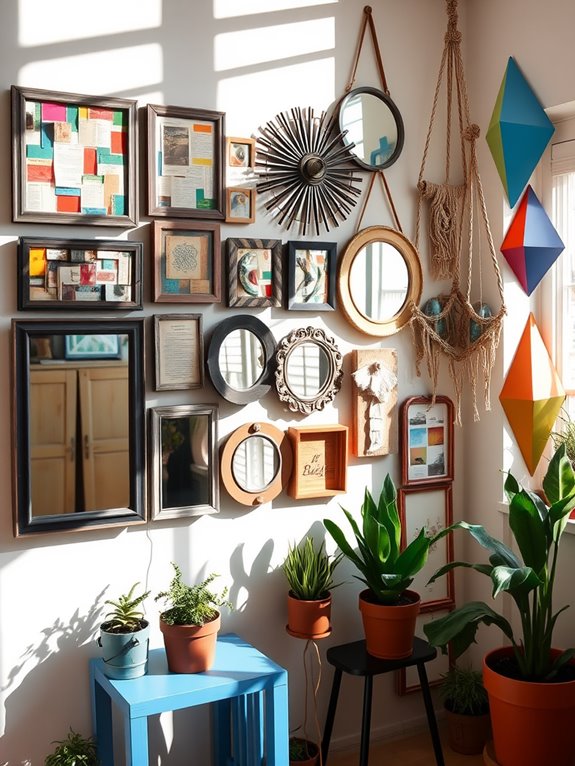
Unique Display Techniques
While many think of traditional frames as the only way to showcase art, there are countless unique display techniques that can transform your space.
I love using recycled materials for DIY Wall Decor, and here are some ideas I've found effective:
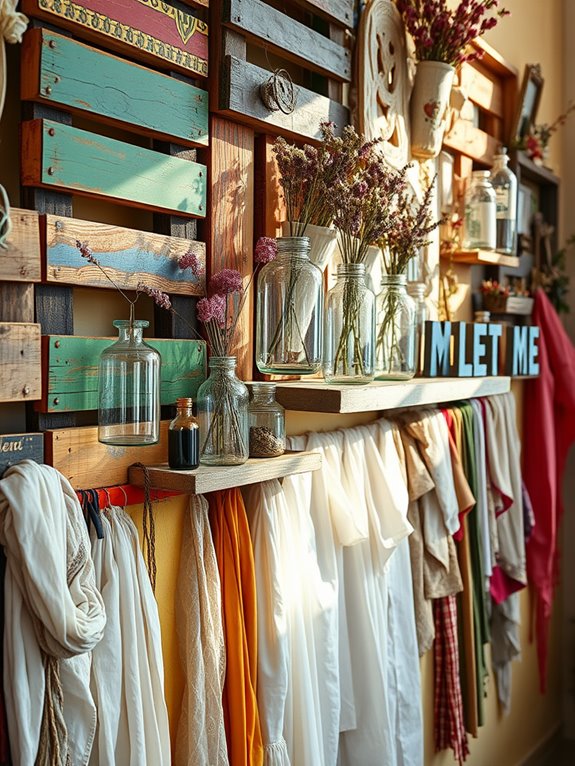
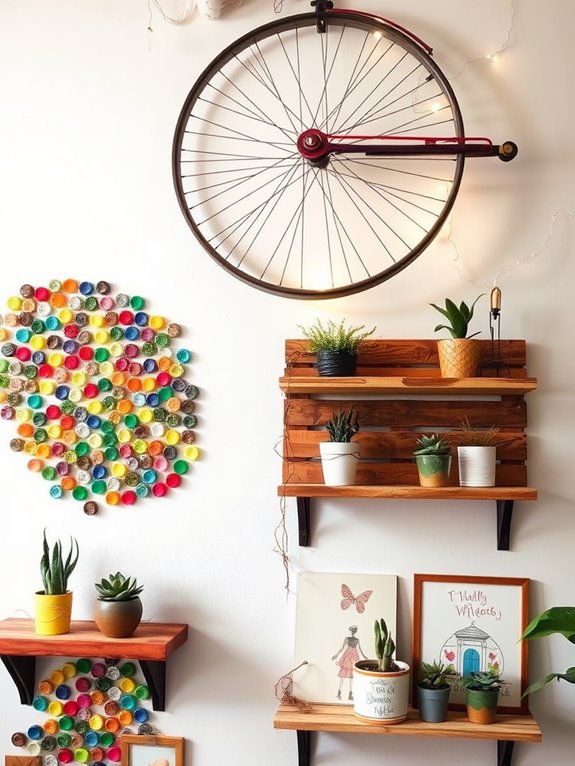
- Rustic Backdrops: Repurpose old frames or wooden pallets as a backdrop, enhancing both aesthetic appeal and sustainability.
- Floating Shelves: Use reclaimed wood for shelf brackets or floating shelves to display smaller art pieces, adding depth to your wall.
- Hanging Art Creatively: Try clothespins on a string or wire; it's a fun way to swap out art and keep your decor fresh.
These techniques not only look fantastic but also promote eco-friendly choices in your home.
Layered Material Arrangements
After exploring unique display techniques, layering materials offers another exciting avenue to showcase your art.
I love creating layered material arrangements using upcycled materials like cardboard, fabric scraps, and even egg cartons. These textures and colors not only add depth but also create a dynamic visual experience.
Before I commit to a final design, I arrange everything on a flat surface to achieve a balanced composition. This way, I can experiment with placement and guarantee harmony.
To keep it lightweight, I incorporate materials like corks, making installation a breeze. Once I'm satisfied, I use glue or screws to secure each layer, resulting in a sturdy piece that truly reflects my creativity.
Interactive Art Installations
How can art become a shared experience? By creating interactive art installations that invite participation!
I love getting creative with pieces that engage viewers, making them feel part of the artwork. Here are three ideas to inspire your next project:
- Add Your Touch: Encourage viewers to contribute their own recycled materials or leave messages, fostering community spirit.
- Movable Elements: Include rotating panels or rearrangeable pieces, keeping the installation dynamic and fresh with every interaction.
- Tech Integration: Use augmented reality apps to reveal hidden layers or animations, enhancing the viewer's experience.
These elements not only captivate audiences but also highlight the importance of sustainability in a fun way.
Let's transform art into a communal journey!
Share Your Process and Inspire Others
Sharing my DIY wall decor process not only allows me to document my creative journey but also inspires others to undertake their own projects.
I love capturing each step through photos and videos, making it easier for you to visualize and replicate my techniques. By showcasing my creative choices in materials and methods, I highlight how recycled items transform into unique decor pieces.
I encourage you to share your process too! Let's engage—post your versions of my projects or suggest improvements.
I often use social media, like Instagram and Pinterest, to showcase my work and reach fellow DIY enthusiasts. Writing blog posts or tutorials also helps me detail my journey and share tips for sourcing recycled materials.
Let's make DIY together!
Frequently Asked Questions
What Is the Best Art Technique to Use Using Recycled Materials?
When I think about the best art technique for using recycled materials, I immediately gravitate toward art assemblage.
It's such a fun way to combine 3D objects, creating dynamic pieces that really showcase creativity. I love layering different textures and colors, which adds depth to my work.
Using adhesives like E6000 guarantees everything stays intact, and a splash of spray paint can unify the whole piece, giving it that polished look I adore!
How to Decorate Home Waste Material?
Have you ever looked at your waste and thought it could be something beautiful?
I love transforming old materials into stunning decor. For instance, I've turned glass jars into whimsical vases and cardboard boxes into geometric planters.
By painting tin cans, I create colorful storage solutions. Each piece tells a story, reflecting my style while reducing waste.
It's a fun, creative way to decorate and give new life to forgotten items!
What Is It Called When an Artist Uses Recycled Materials?
When I create art from discarded items, I'm diving into the world of "upcycled art."
It's exciting to transform what others see as waste into something beautiful and meaningful. I love how this practice not only sparks creativity but also raises awareness about our environmental impact.
Each piece tells a story, reminding us that art can inspire change while celebrating sustainability.
If you haven't tried it, I highly recommend exploring this vibrant form of expression!
What Art Can You Create Out of Recycled Material?
Creating art from recycled materials is like weaving a tapestry of stories, each piece telling its own tale.
I've turned tin cans into charming planters and transformed egg cartons into vibrant flowers that bloom on my walls.
With plastic bottles, I've crafted lanterns that dance with light.
Old newspapers? They become stunning collages reflecting my personal journey.
Every creation not only beautifies my space but also champions sustainability, making my art truly meaningful.
Conclusion
In wrapping up, I hope you're inspired to transform your recycled treasures into stunning wall decor. Each piece you create not only reflects your unique style but also whispers tales of sustainability, much like the artisans of yore who transformed the ordinary into the extraordinary. So, gather your materials, release your creativity, and let your walls tell a story that's both personal and eco-friendly. Remember, every masterpiece starts with a single, bold stroke of imagination.