If you're looking for fun DIY summer wall art ideas for kids, I've got some great suggestions! First, try Truffula Trees Painting for a whimsical touch. Then, create cheerful Paper Plate Suns. Painted Rocks bring a splash of color to any space. Mosaic Chalk Art is perfect for driveways, while Accordion Paper Flowers add lovely dimension. Don't forget about Pressed Flowers for a natural feel, and Rainbow Windsocks for whimsy. Trust me, there's so much more to explore!
Design Highlights
- Truffula Trees Painting: Create vibrant trees with paint and straws, enhancing creativity while serving as lively wall decor.
- Paper Plate Sun: Craft cheerful suns from paper plates, using bright colors and decorations for a fun summer theme.
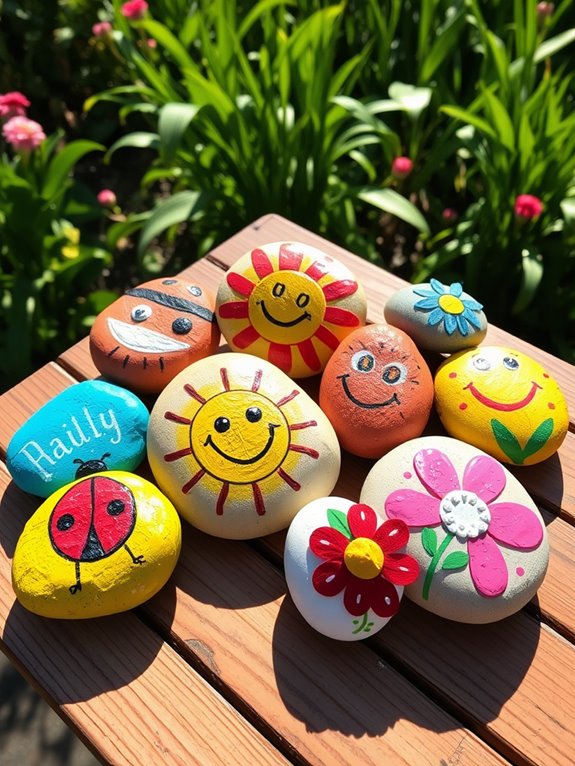
- Painted Rocks: Turn found rocks into colorful art pieces, encouraging outdoor exploration and community engagement with hidden treasures.
- Mosaic Chalk Art: Use vibrant chalk on driveways to create stunning mosaic designs, promoting physical activity and artistic expression.
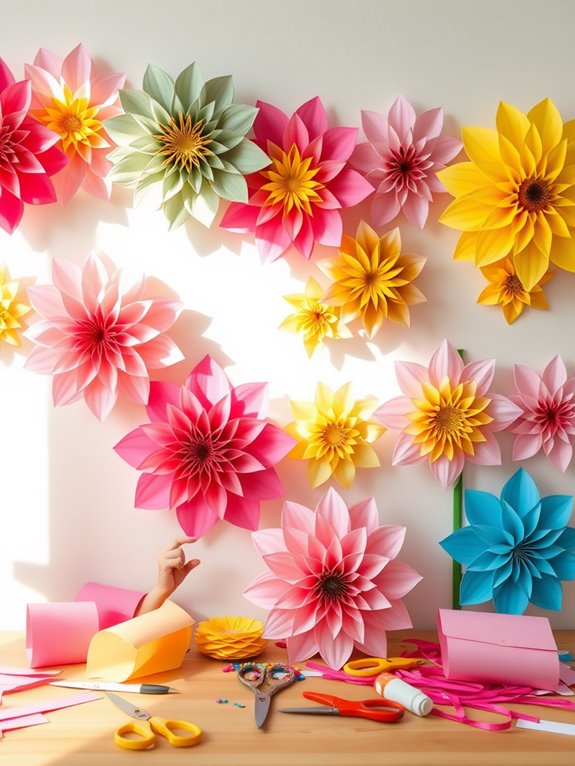
- Accordion Paper Flowers: Make colorful flowers from paper strips, adding playful decor to walls with a simple and engaging craft.
Truffula Trees Painting
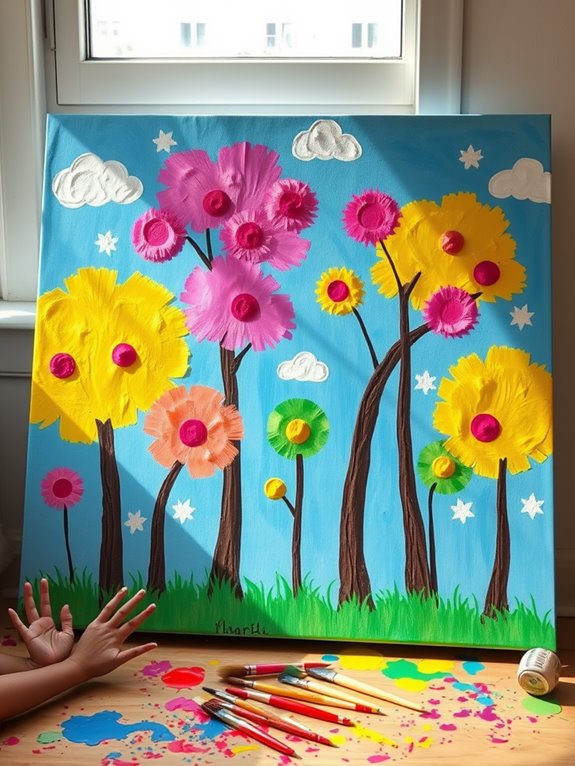
If you're looking for a fun and colorful way to get kids engaged this summer, the Truffula Trees Painting project is a fantastic choice! Inspired by Dr. Seuss's "The Lorax," this DIY summer craft lets kids release their creativity while enhancing fine motor skills. Additionally, incorporating nature-inspired elements like botanical prints can further enrich their artistic experience. To complement this activity, you might consider adding stunning wall decor that showcases their artwork, turning their creations into a vibrant display in your home. By adding coastal-themed decor to their surroundings, kids can also feel a sense of connection to the vibrant summer atmosphere while creating their artwork. With just a few simple materials—paint, paper, and a straw—kids can create vibrant, whimsical trees that reflect their unique styles. It's so easy and encourages imaginative play, connecting them with nature and environmental themes. Furthermore, this craft can be complemented with seasonal home decorations that bring a festive atmosphere to your living space. Additionally, creating a cohesive look with grouping decor items can enhance the overall aesthetic of their artwork display. Plus, the joy of experimenting with colors makes each piece a personal masterpiece. Gather your family or friends, and immerse yourself in this enchanting craft idea that's sure to brighten your summer days!
Paper Plate Sun
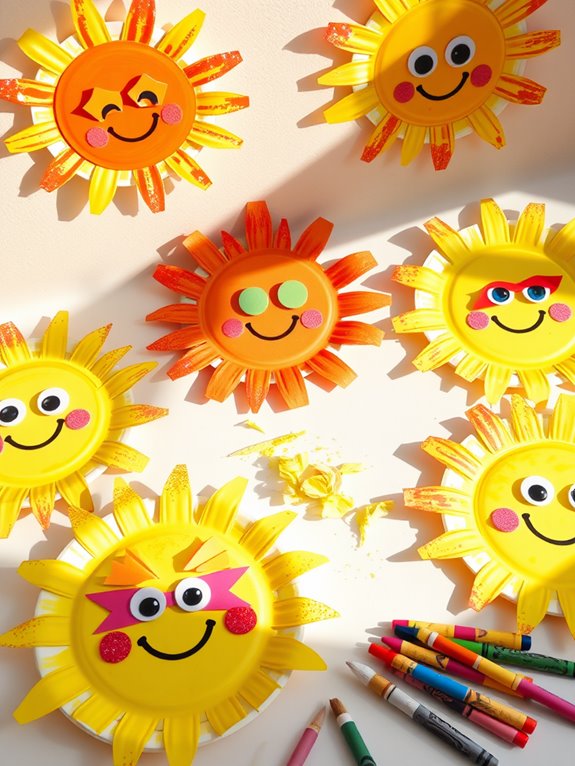
Creating a Paper Plate Sun is a fun and easy way to brighten up your summer decor! Summer Sunflower Wooden Sign adds vibrant colors and cheerful greetings just like your crafted sun will. To enhance your summer theme, consider incorporating coastal-themed decor elements that will complement your sunny masterpiece. Additionally, using floral motifs and nature themes can further enhance the cheerful atmosphere of your decor. Involving children in the decorating process can help them express their creativity and personal style, similar to the way nature-inspired wall decals allow for personalization in children's spaces. I'll guide you through the simple materials you'll need, step-by-step instructions to bring your sun to life, and some creative ideas to personalize your masterpiece. Interchangeable seasonal decor options can also inspire you to change your wall art as the seasons progress. Get ready to release your imagination and craft a sunny masterpiece that can light up any space!
Materials Needed Overview
To make your very own Paper Plate Sun, you'll need just a handful of basic materials that are easy to gather. First, grab a paper plate as the base of your sun. You'll also need bright yellow and orange paint to give it that vibrant summer feel. Scissors and glue are essential for cutting and attaching the sun's rays. Additionally, incorporating vibrant colors can make your sun even more eye-catching and cheerful. Using durable materials ensures that your creation can withstand enthusiastic play and display. Adding elements like vintage canvas art can enhance the overall aesthetic of your summer decor. One great option for a cheerful vibe is to consider adding colorful floral canvas art, which can bring a lively nature theme to your space. Don't forget some markers or craft supplies to add fun features like eyes and a smile! This easy DIY project is perfect for kids and makes for a fantastic summer craft. Not only will they enjoy creating their Paper Plate Sun, but it also serves as a cheerful decoration for any summer-themed activities or rooms, contributing to a cohesive color palette that enhances the overall ambiance. Let the fun begin!
Step-by-Step Instructions
Let's plunge into making your very own Paper Plate Sun! First, grab a paper plate and paint the entire surface with bright yellow or orange to create the sun's face.
Next, cut thin strips of construction paper in the same colors for the rays and glue them around the plate's edge. This adds a vibrant sunburst effect that's sure to catch eyes! Adding in some tropical metal wall art as inspiration can create a lively atmosphere for your summer decor. Incorporating wall decor products can further enhance the visual appeal of your space. To truly elevate your creation, consider surrounding it with stunning wall decor that complements your summer theme. Wall decor ideas can also provide additional inspiration for your summer decorating.
Now, use markers or extra paint to draw on some cheerful facial features—eyes and a big smile are a must!
For extra flair, attach crinkled tissue paper or sprinkle some glitter for texture.
Once your masterpiece is done, hang your Paper Plate Sun in a sunny spot to brighten your summer decor. It's an easy summer craft that's perfect for kids! Additionally, consider incorporating vibrant colors into your decor to enhance the overall summer aesthetic.
Creative Decoration Ideas
One fantastic way to brighten up your space is by incorporating your Paper Plate Sun into various creative decoration ideas!
This DIY summer craft not only sparks creativity but also serves as a cheerful reminder of the sunny season. Additionally, using vibrant colors in your art can make your sun creations even more eye-catching. Including durable materials in your projects will ensure they last through the summer months.
Here are four fun ways to showcase your sun:
- Window Display: Hang your suns in windows to catch the light and create a dazzling effect.
- Outdoor Play Area: Use them to decorate your patio or backyard, enhancing summer activities to keep the kids engaged. Additionally, consider using weather-resistant decor to ensure your creations withstand outdoor conditions.
- Themed Wall Collage: Create a vibrant wall art display with multiple suns, adding color to any room.
- Seasonal Greeting Cards: Cut and paste your suns onto cards for a sunny surprise to friends and family.
Let the creativity flow! Additionally, consider incorporating interchangeable wall decor signs to easily switch themes as seasons change, providing a fresh look year-round.
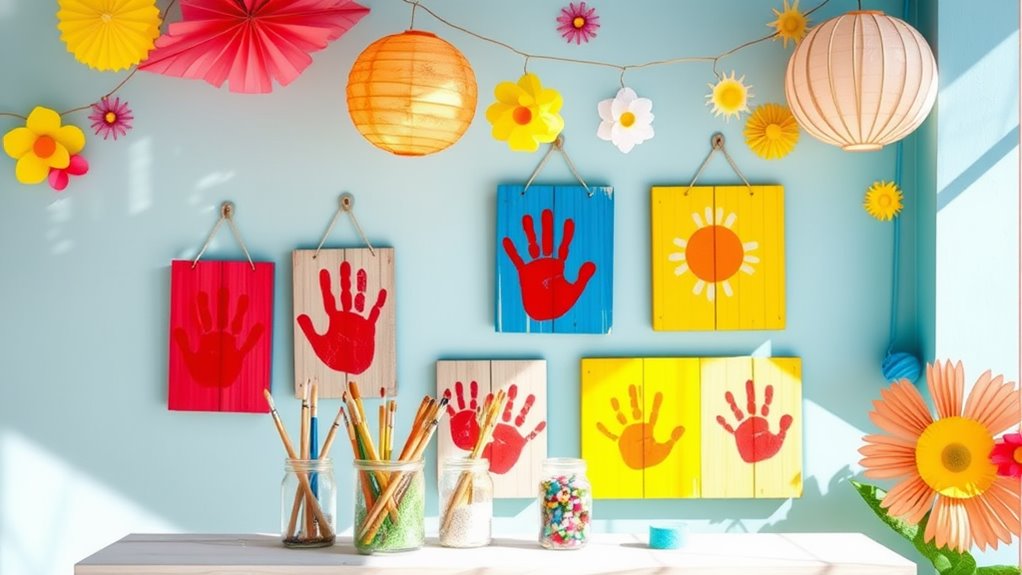
Painted Rocks
While exploring the backyard or local park, I often stumble upon a variety of rocks just waiting to be transformed into colorful pieces of art.
Painted rocks make an engaging summer craft for kids, encouraging outdoor exploration and creativity. With just a few basic supplies, the kids can express themselves by painting feel-good messages, fun designs, or their favorite characters.
Not only do painted rocks brighten up our garden, but hiding them around the neighborhood spreads joy and fosters community engagement. Additionally, these unique creations can be used as creative wall decor, adding a personal touch to any space.
Plus, this craft is budget-friendly, making it accessible for everyone. As they paint, kids also enhance their fine motor skills, practicing techniques that develop their artistic abilities.
It's a delightful way to keep kids occupied during the summer!
Mosaic Chalk Art
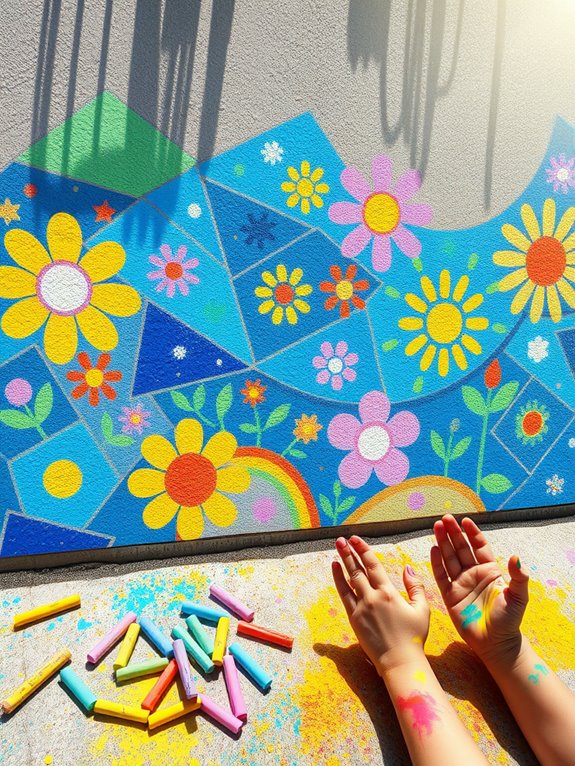
Creating mosaic chalk art is an exciting way for kids to release their creativity on a sunny day.
I love how simple it's to set up this engaging outdoor activity. Here's how we do it:
- Use painters tape to create sections on the driveway or sidewalk.
- Let the kids choose vibrant chalk colors and fill in each section with their unique designs.
- Once they've finished coloring, peel off the tape to reveal a stunning mosaic-like masterpiece.
- Admire and display the artwork as a proud reminder of their creativity!
This craft is perfect for kids of all ages and is an excellent way to promote physical activity and artistic expression together.
Immerse yourself in mosaic chalk art and watch their imaginations soar!
Accordion Paper Flowers
Let's get creative with accordion paper flowers!
I'll walk you through the materials you'll need, step-by-step assembly, and some fun color variations to make your blooms pop.
This project isn't only a blast but also a fantastic way for kids to express their artistic flair!
Materials Needed Overview
To make vibrant accordion paper flowers, you'll need just a few simple materials that are easy to gather.
This craft is perfect for kids and promotes creativity while honing their fine motor skills.
Here's what you'll need:
- Colorful paper – choose your favorite shades to brighten up your flowers.
- Scissors – for cutting and folding the paper into beautiful shapes.
- Floral wire – this will serve as the stems for your creations.
- Templates – you can find these online to guide your little ones through the process.
With these materials at hand, you're ready for some fun and engaging crafts that can brighten any space or make thoughtful gifts for friends and family!
Step-by-Step Assembly
With all the materials gathered, assembling the accordion paper flowers is a fun and straightforward process.
First, I cut colorful paper into strips, about 1 inch wide and 10-12 inches long, perfect for creating petals. Then, I fold each strip in a zigzag pattern, about 1 inch for each fold, giving it that delightful accordion effect.
Once all the strips are folded, I gather them and secure the center with a twist tie or floral wire. Next, I gently fluff out the folds to shape the flower, adjusting the petals for balance.
Finally, I attach the flower to a stem made from floral wire or a craft stick. This project is easy to make and great for the whole family, including toddlers and preschoolers!
Creative Color Variations
How can you turn simple accordion paper flowers into a vibrant explosion of color? With a bit of creativity, you can transform these charming crafts into stunning home decor.
Here's how I like to explore creative color variations:
- Mix Patterns: Use patterned paper to create unique designs.
- Layer Shades: Combine different shades of the same color for depth.
- Add Accents: Incorporate glitter or stickers for extra flair.
- Personal Touch: Let kids choose their favorite colors for a personal feel.
These accordion paper flowers aren't just fun to make; they also enhance fine motor skills.
Plus, they make fantastic decorations for kids' rooms or parties.
Check out Crafts by Amanda for templates and ideas to get started!
Pressed Flowers
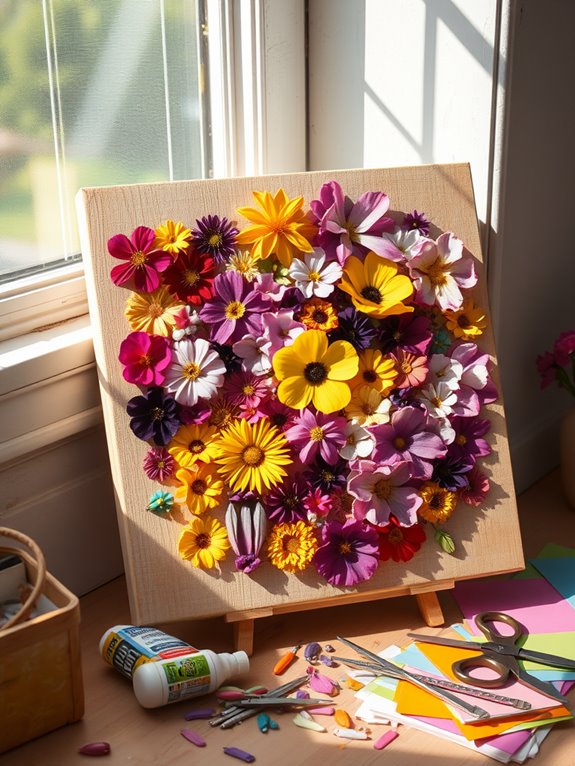
While exploring the garden or a nearby park, I often find myself captivated by the vibrant colors and delicate shapes of flowers. I love collecting these beauties and transforming them into pressed flowers, a fun and creative activity that sparks my artistic skills.
To press them, I simply place the flowers between the pages of a heavy book, ensuring they lie flat and dry completely. Once they're ready, the possibilities are endless! I can create stunning greeting cards, frame them as artwork, or use them as decorations in jars and vases.
This craft not only encourages appreciation for nature but also offers a relaxing way to bond with family and friends while bringing a touch of floral elegance to our homes.
Rainbow Windsock
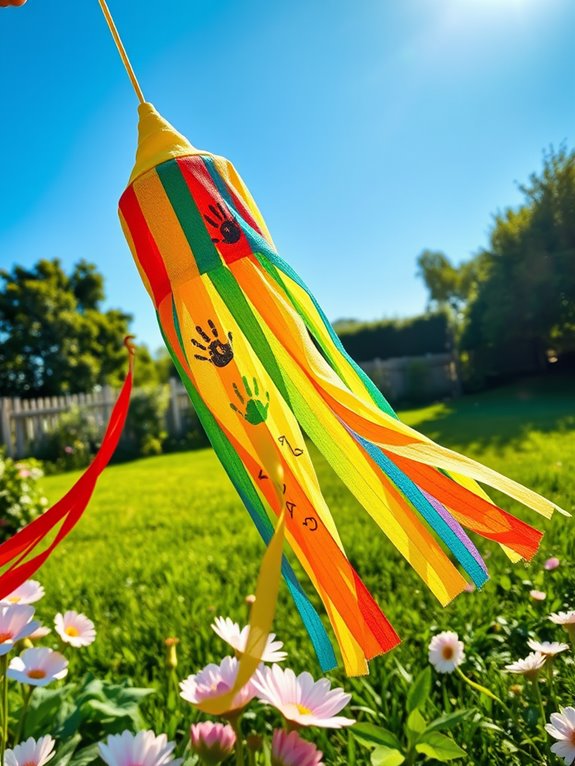
Creating a Rainbow Windsock is like bringing a splash of color to life right in your backyard! This fun craft not only brightens up your outdoor space but also encourages creativity and outdoor play.
Here's how to make one:
- Gather your materials—paper, string, and scissors.
- Cut the paper into colorful strips, choosing your favorite shades.
- Assemble and tie the strips to a base, creating a fun design.
- Hang your windsock outside and watch it dance in the breeze!
Not only does this project enhance fine motor skills, but it also allows kids to express themselves.
Once completed, your rainbow windsock will become a cheerful decoration, perfect for any summer setting!
Frequently Asked Questions
What Materials Are Best for Kid-Friendly Summer Wall Art?
When I think about kid-friendly summer wall art, I love using materials that spark creativity and are safe.
Think about bright construction paper, washable markers, and non-toxic paints. I often grab some canvas boards for a sturdy base, and using glue sticks is a must for collages.
Textured items like fabric scraps and natural elements, like leaves, really add dimension. Kids can have so much fun exploring with these materials!
How Can I Display the Finished Wall Art?
Displaying finished wall art can be like hanging a masterpiece in a gallery.
I love using colorful frames that complement the artwork, creating a vibrant display. You can also clip the art onto a string with clothespins for a playful look.
If you want to switch it up, a rotating display board lets you showcase different pieces over time. It's a fun way to celebrate creativity and brighten up any space!
Are There Any Safety Tips for Using Paints and Adhesives?
Absolutely, safety's key when using paints and adhesives!
I always make certain to work in a well-ventilated area to avoid inhaling fumes. Wearing gloves protects my skin, and I never forget to use non-toxic materials, especially if kids are involved.
I also keep a first aid kit handy, just in case.
Finally, I supervise closely to guarantee everyone's having fun safely. Better safe than sorry, right?
Happy crafting!
Can These Projects Be Adapted for Younger Children?
Absolutely, these projects can be adapted for younger children!
I've found that simplifying the steps makes it easier for little hands to join in the fun. Using larger brushes and non-toxic, washable paints not only boosts creativity but also keeps things safe.
I love incorporating easy-to-handle materials like paper plates or foam shapes. Watching them express themselves with vibrant colors is such a joy, and it inspires their imagination in wonderful ways!
How Do I Clean up After the Art Activities?
Cleaning up after art activities doesn't have to be a chore!
I always start by gathering all the supplies and sorting them into their proper places. I use damp cloths to wipe down tables and surfaces, and I like to have a designated trash bag for any scraps.
It's also helpful to involve everyone, making cleanup a fun team effort. Trust me, a little organization makes the post-art mess feel manageable!
Conclusion
So, there you have it—seven summer wall art ideas that'll keep your kids busy and possibly transform your home into a modern art gallery (or a colorful disaster zone, depending on your view). Who knew a paper plate could rival Picasso? Immerse yourself in these projects and let your little ones release their inner artists—your walls may never forgive you, but hey, at least you'll have a conversation starter! Happy crafting, and may your summer be as bright as their creations!